 Betuweroute en Kunst
 Kunst in huis? Netty Franssen maakt ook bijzonder mooie dingen
Aqua Interface Graphics |  |
Here are some simple Aqua-lookalike interface graphics that really lighten-up your FileMeker Pro files.
Tweet

Step 1 - Pattern:
To fill a layout part with an aqua-look pattern do the following:
- Select the layout part (head, body or footer) by clicking the part-tab.
- Select a fill pattern:
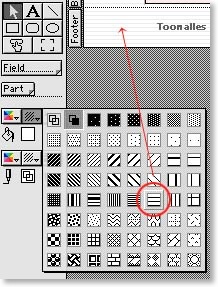
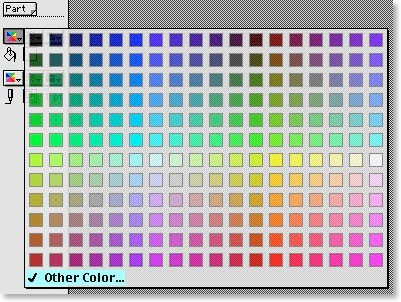
- Select a light gray color for the pattern:

Step 2 - Add an Aqua-bar
Next, add a an aqua-like bar to the part as a background image for text-buttons. You can download each bar by saving the image you see here. Each color consists of a bar for the top of your screen (white space at the bottom) and a bar for the bottom of your screen (white space at the top). Each bar has a length of 800 pixels, which you can shorten yourself using Photoshop or so:
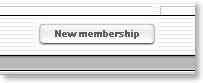
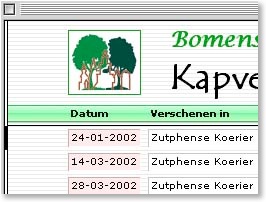
Paste the bar on to your layout and choose 'Arrange -> Send to back'. Click on the Texttool and type a title, make it bold text, and position it over the bar. Should look something like this:
Step 3 - Add Aqua-buttons
Instead of using a bar for the bottom part of your screen, you can choose to use buttons. Choose the buttons you need from below.
Tip: do not scale the buttons in Filemaker because that distorts the pixels at both ends. That's why I created the same button in different sizes:
Paste the button on to your layout and choose 'Arrange -> Send to back'. Click on the 'Text' tool and type a title, make it bold text, give it a dark gray color and position it over the button. Should look something like this: