
 Betuweroute en Kunst
 Kunst in huis? Netty Franssen maakt ook bijzonder mooie dingen
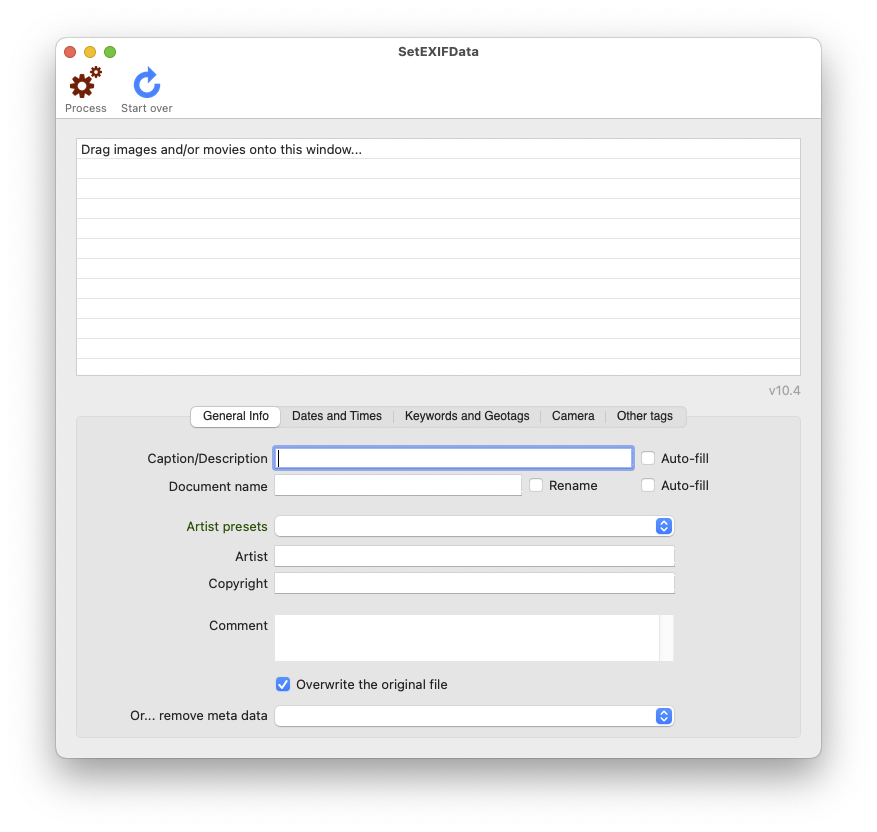
SetEXIFData
Modify EXIF data in images and movies
Hosting Favorites |
| ANU Internet Services |
| Netim |
| GoDaddy |
| XEL Media |
Blogroll |
| Bomenstichting |
| Google Translate |
| PHP |
| MySQL |
| jQuery |
| jQuery UI |
| YourHead Stacks API |
| Favicon Generator. |
| Password Generator. |
| Check HTTPS problems |
On this website, Google Analytics is used to track visitor statistics. These are anonymised data about the number of visitors, which pages they visit on this site, from which regions they visit, which web browsers they use, etc.. You will also see non-personalised ads via Google AdSense. Cookies from Paddle or Paypal are placed when you click on a 'Buy now!' or 'Donate!' button, and possible cookies from Disqus when you use that system to comment on one or more blogposts.
Privacy Statement