
 Betuweroute en Kunst
 Kunst in huis? Netty Franssen maakt ook bijzonder mooie dingen
Install MySQLSet up an Xserve from scratch part II |  |
There is a version of MySQL 4.1 present in Mac OS X Server 10.4 which you can use (search for MySQL Manager), but I chose to simply install the latest 4.x version. Maybe I will install 5 later, when I know it doesn't break anything. Version 4.x is fast enough for me and has, until now, all I need.
Tweet

1. Start
2. Within the VNC session, start Safari
3. If Safari is configured to automatically expand downloaded files (this is the default; you should turn this option off in Safari's Preferences to have more control over what you download) then you should end up with a mounted virtual disk containing the MySQL installer. Otherwise, look for the downloaded .dmg and double click it to manually mount the virtual disk. If the disk does not open after mounting, double click its icon to see its contents.
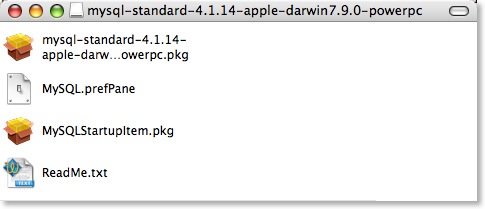
4. Double click the MySQL installer and follow the instructions.
5. Double click the MySQLStartupitem installer and follow the instructions.
6. Double click the MySQL.prefpane and select 'Install for all users'.
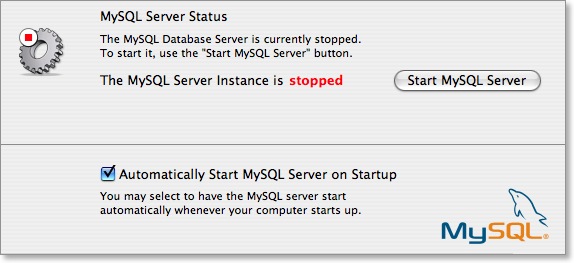
7. Open System Preferences and click once on the MySQL icon, located at the bottom of the Preferences :

Check 'Automatically Start MySQL Server on Startup' and click 'Start MySQL Server'.
8. Now logout and close the VNC session.
Now I should be able to manage MySQL remotely, because the Xserve will be co-located. To manage MySQL and its databases there are various tools on the market. I tried some but each time ended up with Navicat
9. Start Navicat and click the 'Connection' button in the toolbar.
You will be presented with the Connection Options window:
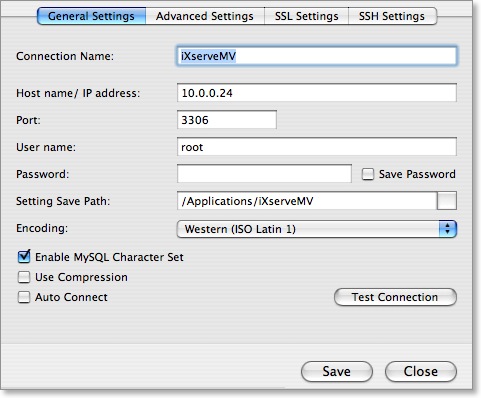
10. Fill in a nice connection name so you can remember which server it is, enter the IP-address of the new Xserve and as 'User name' type 'root'. Leave the password field blank and click 'Test Connection'. You should get an answer that all's well. Click 'Save'.
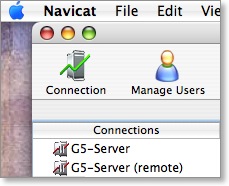
The connection shows up in the 'Connections' pane.
11. Select the new connection by clicking it once and then click the 'Manage Users' button in Navicat's toolbar.
- Remove both anonymous users (the ones that start with a @) if you are not going to allow the whole world access to your MySQL Server.
- Give both root users a password and write it down so you do not forget it.
- If you are going to use Lasso, create two users identical to both root users, and name them lasso@localhost and lasso@
.local. Give the Lasso users the privileges you think Lasso needs. Lasso is a tool to develop web applications, so it should have almost all privileges.

When you are going to access MySQL directly from your company's network, you can create a global user with read-only privileges for certain tables. For example mycompany@83.233.45.56 where the IP-address is from the proxy server that allows access over port 3306.
When you are done, click 'Close'.
12. To copy all data from my old server to the new Xserve, I have to create the databases manually, but not the tables. That's what Navicat can do for me.
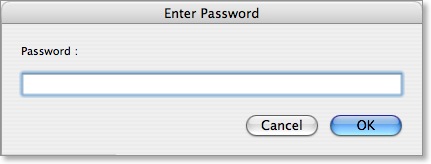
Double-click the new connection. You will be get a logon window where you should type the password you just configured for 'root' and click 'OK'.
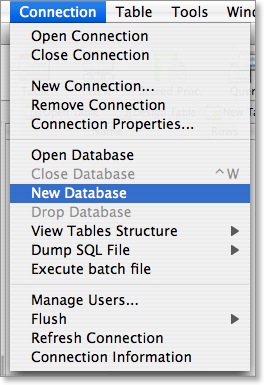
13. Create the first database and name it the same as the one on your old server:
A window appears where you can enter the name of the database.
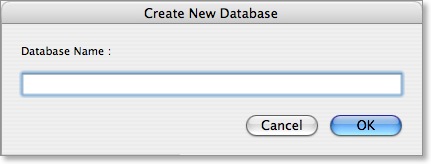
The default encoding is 'latin1' and the default collating sequence is 'latin1_swedish_ci'. If you get a window with two pop-ups for the encoding and the collating sequence, choose exactly the same encoding and collating sequence as the tables on your old server have. You can examine your table properties with
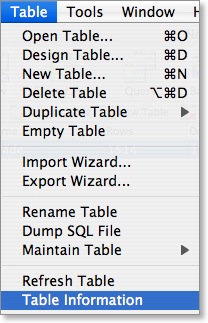
and then click on 'Table Schema' and look for the red-marked text:
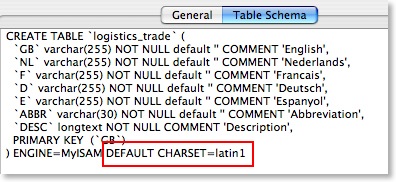
If the new tables do not have matching character sets, you will not be able to transfer data between the two servers through Navicat. You will have to export the old data to a text file and import it into the new server.
14. To be able to transfer tables and data from my current MySQL server into the new server, I had to create a new Connection to the new server inside the current server.
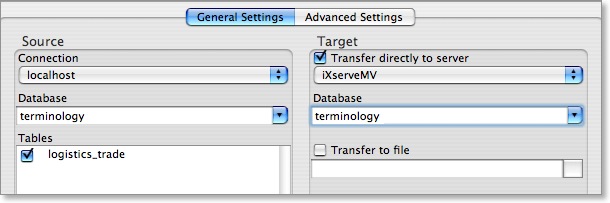
15. Then I chose Tools->Data Transfer:
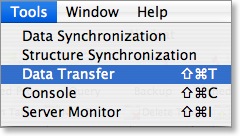
and set up the transfer of the old server to the new one:
Make sure that the tables will be created by checking the appropriate options in the 'Advanced Settings':
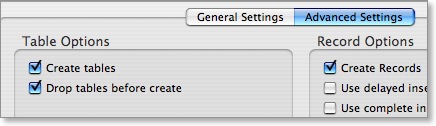
If all is ok, click 'Start'.
16. I repeated the last steps (13...15) for all my other databases.
The next step is to configure and activate the webserver.